Calibration Wizards
Calibration Wizards provide a step-by-step process that can be used to generate a sequence of measurements for the purposes of calculating a equivalent circuit-model that can be implemented as a Circuit Transform. The Calibration Wizard consists of Calibration Wizard Pages that are categorized as follows:
Port Page(AbstractPortPage).
Instrument Page(AbstractInstrumentPage)
Requirements Page (AbstractRequirementsPage).
Content Page (AbstractContentPage).
Conclusion Page (AbstractConclusionPage).
Port Page
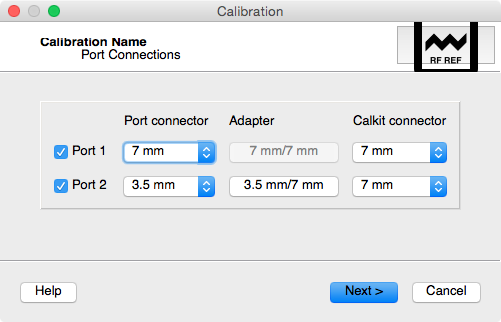
Select the ports to be calibrated and the “Next” button will become enabled when the required number of ports are selected. Select the Port connector for each measurement port and the Calkit connector for calibration kit that will be used during the calibration routine. If the Port connector does not match the Calkit connector, you will be prompted to specficy a two-port S-Parameter model of an adapter that is connected to measurement port during calibration.
Instrument Page
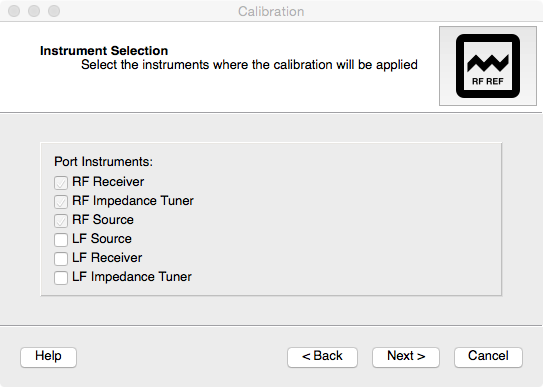
For the ports selected in the previous step, specify the instruments that will be calibrated by the ensuing calibration routine. This information will help determine hich measurements are needed to perform the calibration.
Requirements Page
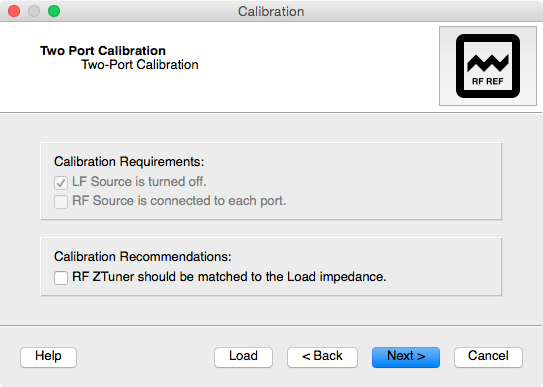
Before entering the calibration routine, each Calibration Wizard can optionally provide:
A description of the calibration procedure.
A list of requirements that must be satisfied before beginning the calibration.
A list of recommendations that should be satisfied before beginning the calibration.
Content Page
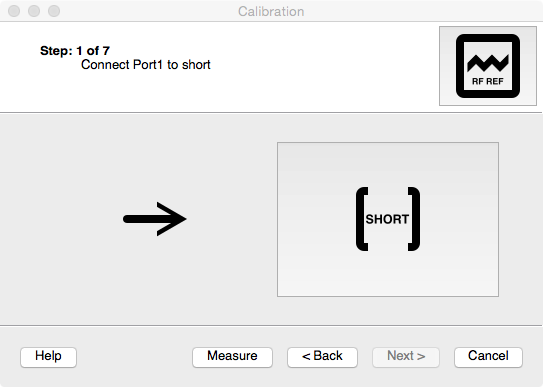
One or more Content pages can be used to specficy sequence of measurements that are needed to complete a calibration routine. Each page provides:
The current step, the number of steps, and whether the current step is optional.
Describes the connection required before executing the current step.
Illustrates the connection required. Outlined components can be clicked to allow the user to provide additional component information.
After the user has complete the instructions (and provided additional information where needed), press the “Measure” button to execute the calibration step.
Conclusion Page
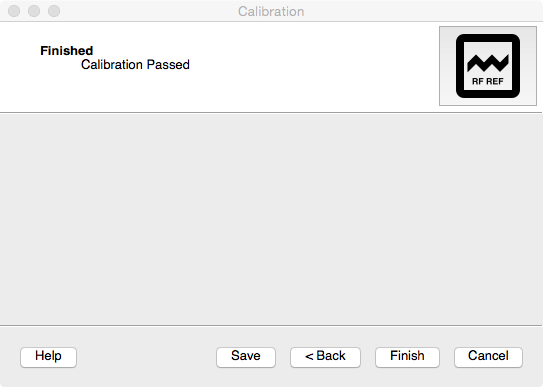
Once all of the calibration steps have been complete, the Conclusion page will compute the calibration coefficients and apply the calibration correction. The conclusion page provides:
A message indicating whether the calibration passed or failed.
A “Save” button to sav the calibration state, so that the calibration procedure can be by-passed in future.
A “Finish” button that will apply the calibration correction as a Circuit Transform.